Summer Harvest Tips for the Garden
Caitlin Etherton
As many Americans across the country are weeding and watering their way through their first victory gardens, perhaps some of them have stumbled on an unforeseen obstacle—how to harvest. At first it may seem as though this is the easiest part of gardening or farming. The hardest work goes into planting and tending and flourishing and then come summer you just… pick.
The past five video calls I’ve received from friends and family bravely betray that assumption. Of course no one is stopping you from rogue harvesting to your heart’s delight! A ripe tomato is a ripe tomato and plucked from your very own garden, the fact that it turned red at all sometimes feels like enough of a miraculous reward. But knowing how to harvest at the right time can result in tastier produce and a more manageable shelf life. Below are harvesting tips for seven of our favorite summer delicacies. All you need is hand pruners, a sharp knife, a bucket, and these few simple tips.
Tomatoes
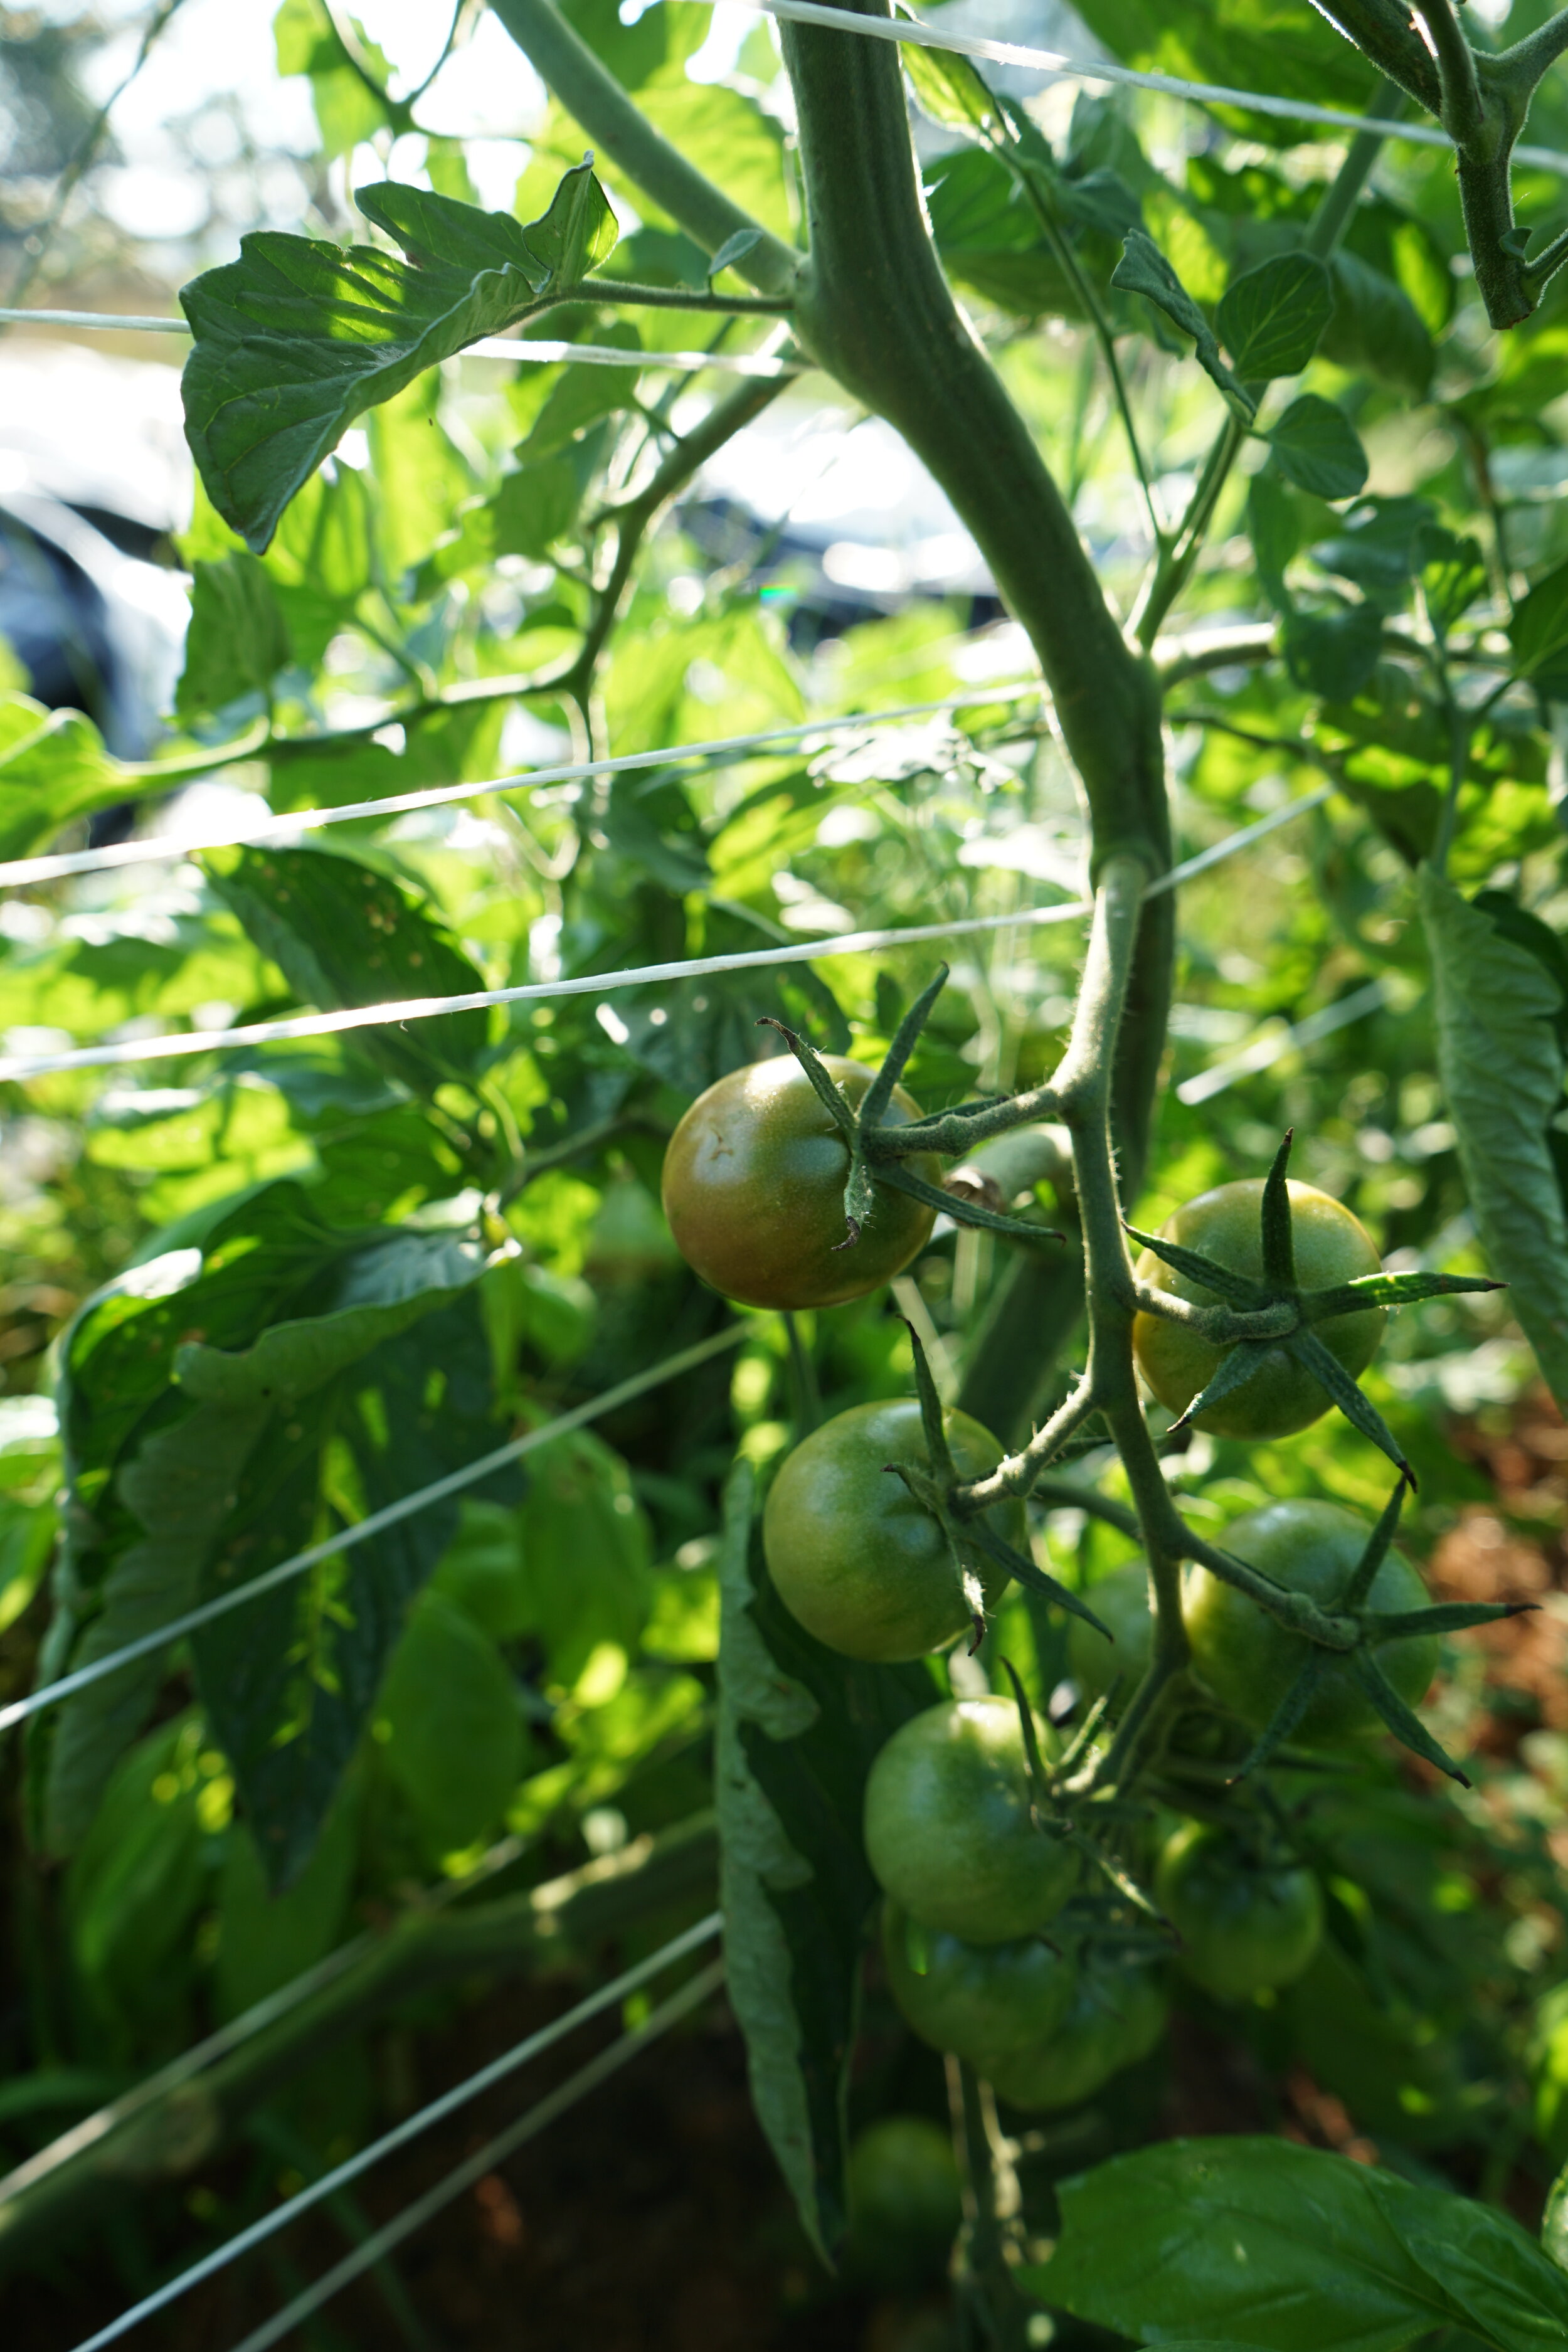
If you look closely, the top three fruits in this cluster of black cherry tomatoes have broken and are ready to be harvested.
Tomato season here we are! Tomatoes are best stored at room temperature in order for the fruit to maintain the best texture and flavor. But storing them outside the refrigerator also means a shorter shelf life. The trick here is to pick early. The moment when a tomato on the vine has transitioned from being 100% green to just barely barely pink is referred to as the tomato “breaking.” Breaker tomatoes are ready to be picked at that very first sign of pink blush. The harvested fruit will continue to ripen on the kitchen counter just as well, if not better, than it would on the vine. I like to judge the ripeness of a tomato the way I would an avocado. If you gently push your thumb into the side and you feel the wall give, then the fruit is ready to eat. Of course fruit that has escaped an early harvest and gone on to turn red or pink or orange on the vine is also perfect for harvesting (and also perfect for tasting juicy and warm right in the field). Tomatoes may be carefully plucked off the vine, or snipped off with clippers. Either method is fine, but clippers may be preferred for those divine and lumpy heirlooms that are tricky to extract from the stem. Damaged or rotten fruit should be removed from the plant while harvesting in order to encourage the plant to focus on ripening new fruit. If you spend a long day harvesting tomatoes and notice that the gold-green tar from the leaves has stained your arms and fingers, the best way to remove it is, naturally, tomato juice. Slice open a green or red tomato, slide the juicy side across your skin, and Voila! clean as a cucumber.
Summer Squash and Zucchini
A fancy yellow zucchini at just the right size.
Yellow summer crookneck squash at the perfect size for harvesting. The blossom has dried on the bottom of the fruit and may be easily wiped away.
In the commercial produce industry, summer squash is harvested at three different sizes: “extra fancy” (5 inches long), “fancy” (7 inches long), and “medium” (8 inches long). But home gardeners tend to harvest summer squash and zucchini at two different sizes: “medium” (8ish inches) and “wow-have-you-ever-seen-a-zucchini-this-huge-in-your-life” (between 9 and one million inches). In order to attempt to control the squash-situation it’s best to harvest squash every two to three days at a minimum. Giant fruit is perfectly fine to eat (and great for making zucchini bread and squash fritters). But when harvested small, both squash and zucchini are more tender, less “squeaky” and less seedy. Yellow summer squash like crooknecks and zephyrs can usually be gently pulled off the vine with a careful twist. For zucchini it’s better to use a knife; the stems are thicker and this way you’ll prevent pulling up the whole plant. On many squash you’ll find a spent blossom still clinging to the end of the fruit. This can be wiped or washed off before storing your squash in the refrigerator.
Squash Blossoms
Male squash blossoms that have finished blooming. Closed squash blossoms like this can still be harvested and eaten.
Squash really is a generous player in the garden. Their large leaves shade out weeds, they attract bees, and they begin doling out harvestable fruit only 50 days from the day you seed. And even before they offer their first fruit they regale us with brilliant trumpet-y blossoms. Squash blossoms are a delicious summer treat in the kitchen, excellent for stuffing with goat cheese, frying, or shredding onto pasta, pizza, or salad. Squash blossoms often close during the day, so it’s best to pick them early in the morning when they’re wide open (especially if you’re planning on stuffing them with cheese). Watch out for bees! They love bumbling about squash blossoms in the morning. I’ve found the bees are usually much too distracted to notice a human harvesting, but they will quietly stowaway inside the blooms sometimes, so you might want to give your flowers a shake before plopping them into a basket.
A female squash blossom. Illustration from Franz Anton Von Scheidl (German, 1767-1770)
It’s good to keep in mind that squash are “monoecious” plants with “imperfect” flowers, which just means that some of the flowers are male and some are female. It’s easy to tell the difference on the plant because a male flower is preceded by a straight skinny stem whereas the female flowers are pushed forward by a baby fruit. Squash will put out a flush of male blossoms before the female blossoms, in order to attract pollinators to the area ahead of time. When the female blossoms finally emerge there are already plenty of bees in situ and ready to pollinate. The plant will then continue to make both male and female blooms (usually a bit heavier on the male side). All this to say: by harvesting only male blossoms, you won’t impede the plant from producing mature fruit. So you can have your squash blossom cake and eat the squash too.
Okra
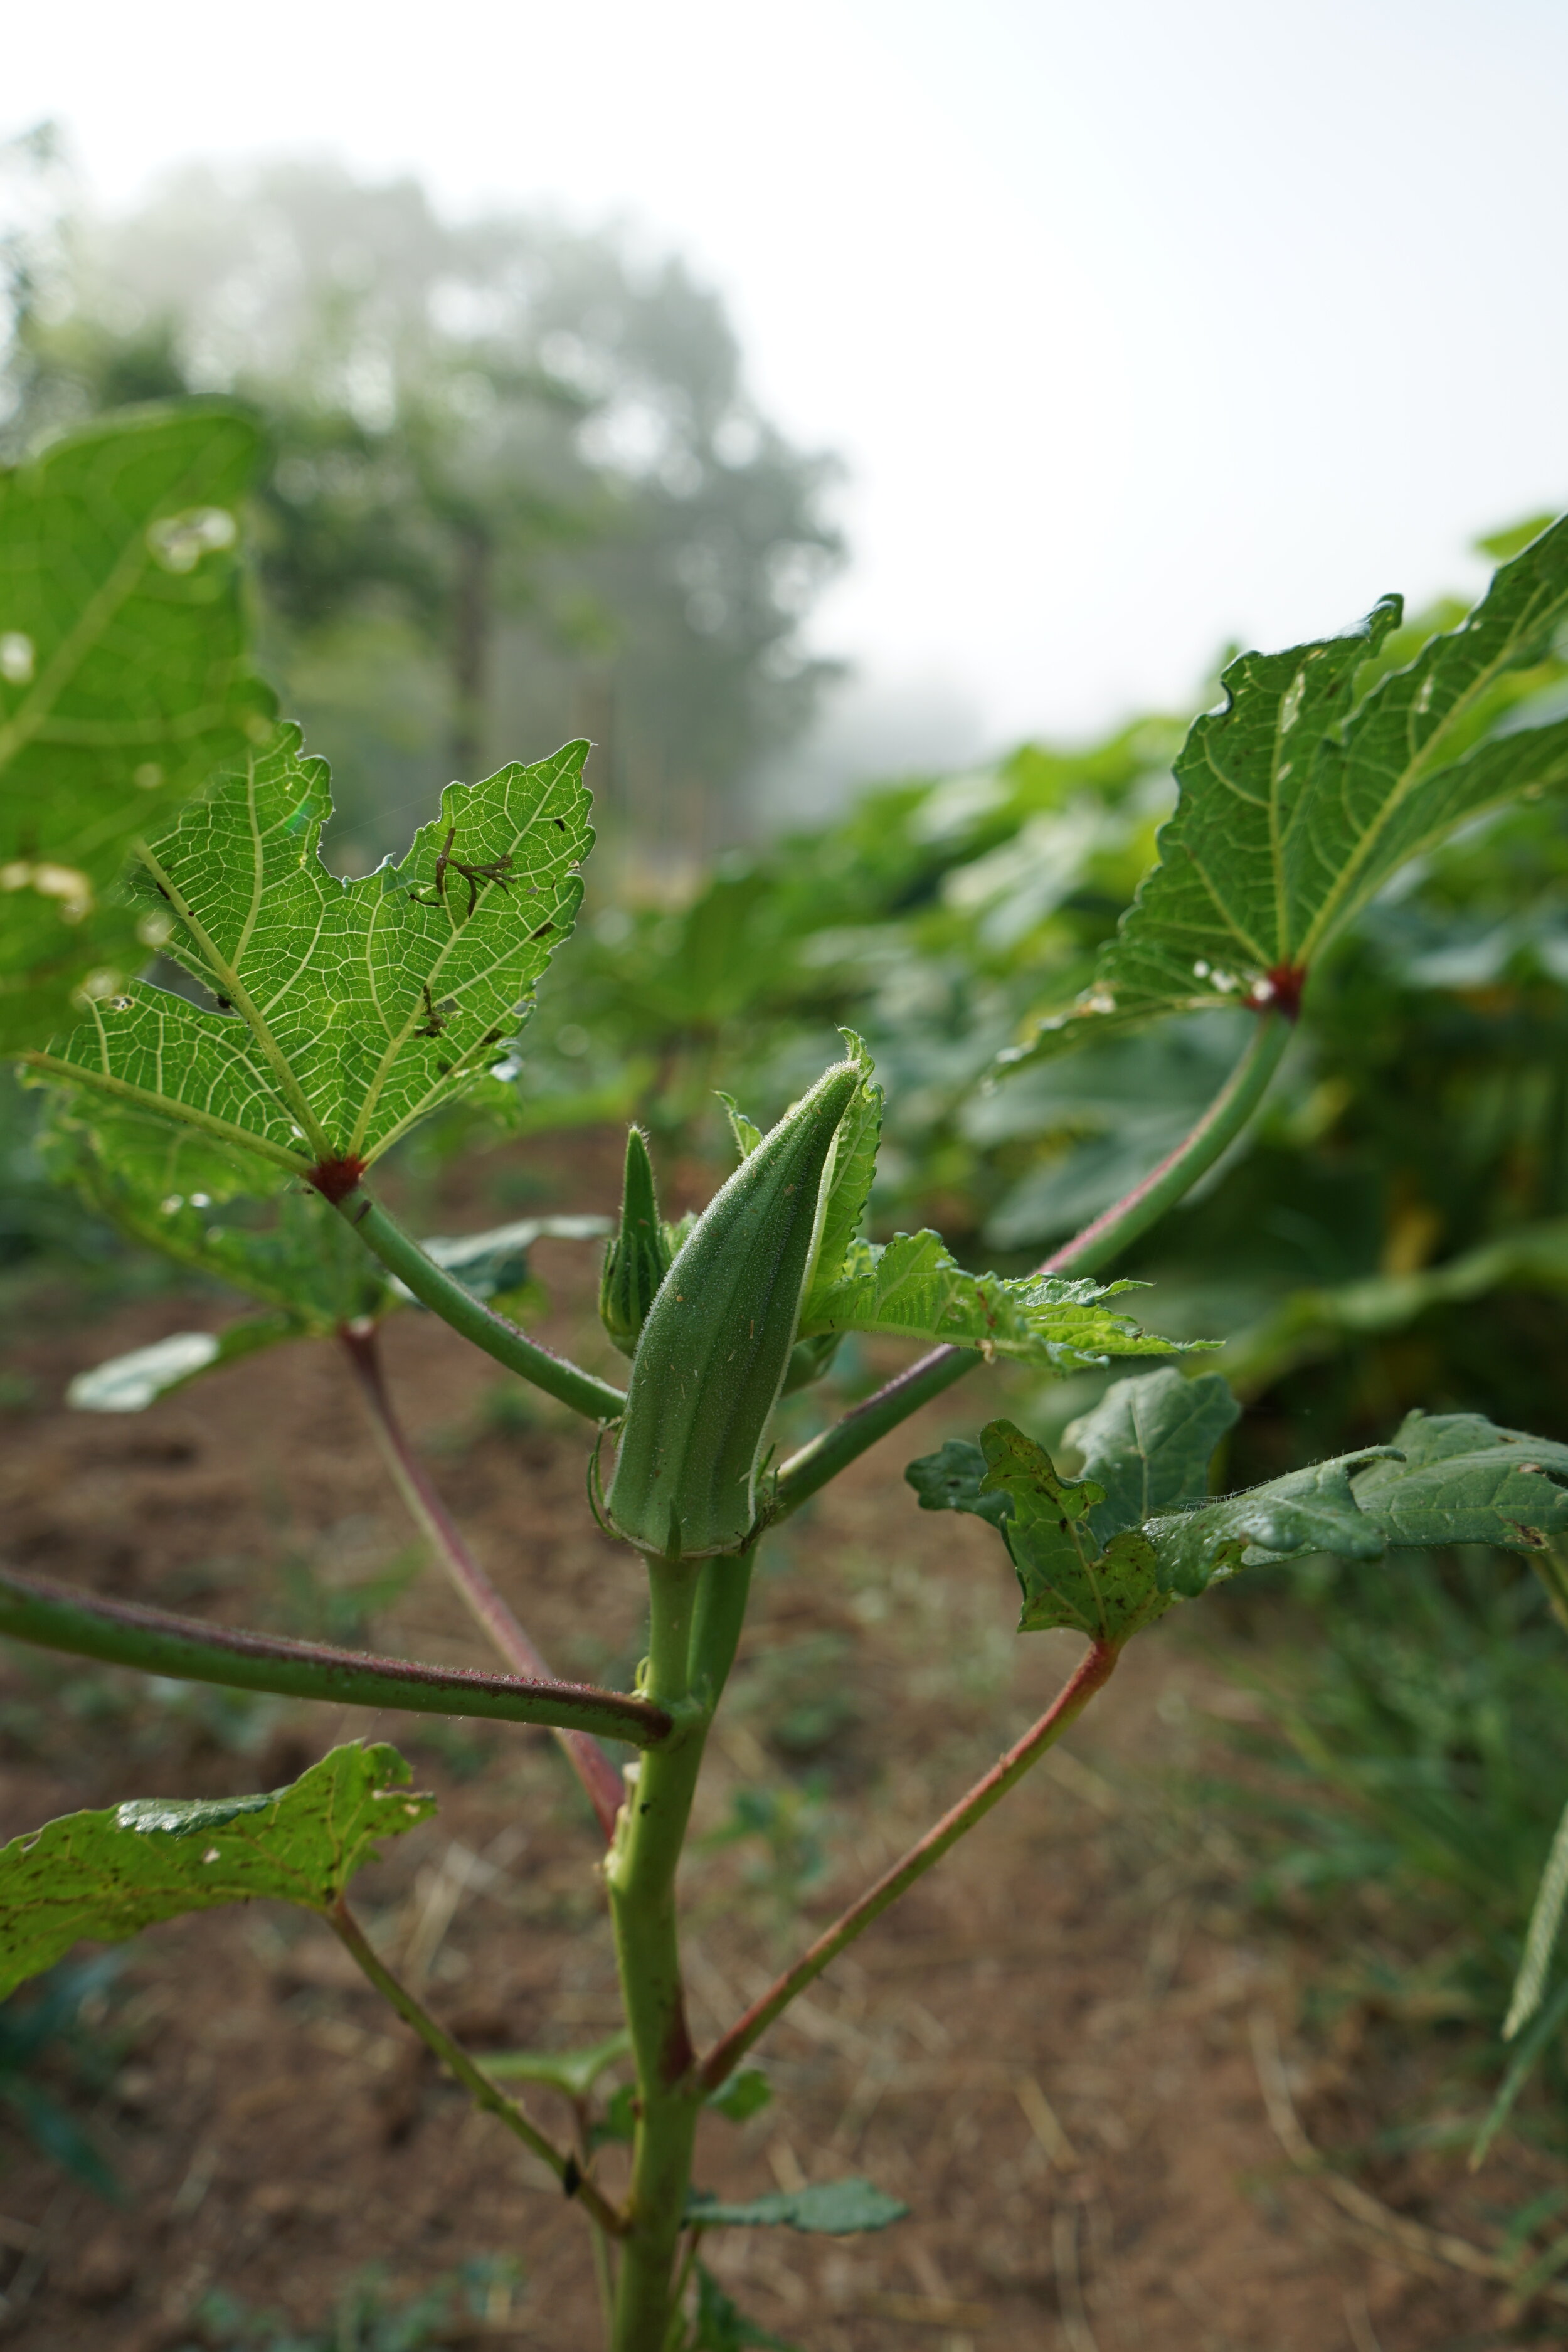
Okra at the perfect size for harvesting.
When it comes to harvesting, okra and squash have a lot in common. As the plant goes into full swing, okra should be harvested every other day (if not every day). Small fruit can be snapped and twisted off, in a downward direction, by hand. Larger fruit will need to be cut off with clippers. Although some varieties maintain tenderness at larger lengths, it’s best to pick okra when the pods are roughly two to three inches. A member of the hibiscus family (which means it is cousins with marshmallows, chocolate, baobabs, and cotton), the exotic blossoms are edible as well and can be harvested and eaten just like squash blossoms. Okra leaves and stems are covered in soft spines that make most people’s skin quite itchy. You might prefer to wear long sleeves while harvesting. A quick rinse afterward should do the trick and the feeling typically doesn’t last very long.
Peppers
A half-ripe bell pepper.
Unlike tomatoes, peppers won’t continue to ripen once they’re removed from the plant. So it’s best to pick them at the stage you’d like to eat them. Sweet peppers will be at their sweetest when they are most colorful. Hot peppers go up the Scoville scale the larger and more colorful they get. You can harvest a pepper at any stage you prefer—green, red, purple, or gold. When a pepper is fully ripe and begins to show small lines of webbing, that means it’s about to call it quits and should be picked. Small peppers can be pulled by hand. Larger ones, like bell peppers, are best removed with a knife or some clippers. Watch when harvesting hot peppers that you don’t make the mistake of afterward rubbing your eyes.
Cantaloupe
Cantaloupes that have turned entirely tan (both the webbing and the skin) are ripe and ready to harvest and to eat. Illustration from Johann Wilhelm Weinmann (Dutch, 1683-1741.)
Cantaloupes (and cantaloupe cousins) are the only melons that will continue to ripen off the vine. They can be picked once the outer mesh pattern is tan, even if the skin below it is still slightly green. Cantaloupe are ready to eat once the green is gone and the entire fruit has turned tan. When ripe, the stem end of the fruit should smell obviously sweet.
Watermelon
A watermelon from the BCCF’s 2019 crop, heavy and ready to eat.
A watermelon will not ripen off the vine. If you pull it too soon and chop it open to find a hard, pale pink center, there is nothing you can do except wait for the next melon. Luckily there are four easy ways to tell that a watermelon is ripe. The fruit should feel heavy for its size. If you flip it, there should be an obvious yellow spot where its belly has been resting on the ground. On the reverse, sunny-side-up there will sometimes be a fainter faded sun spot. And last but certainly not least, if you follow the vine out of the melon and examine the first pig-tail curlicue that’s closest to the fruit, it should be brown and shrunken the whole way back to the vine. If the tendril is still green then the melon is not finished maturing and not yet at its sweetest stage. I’ve thunked and thumped a thousand melons and while it’s a satisfying sound, I have yet to put full confidence in using that method as a harvest indicator.
Potatoes
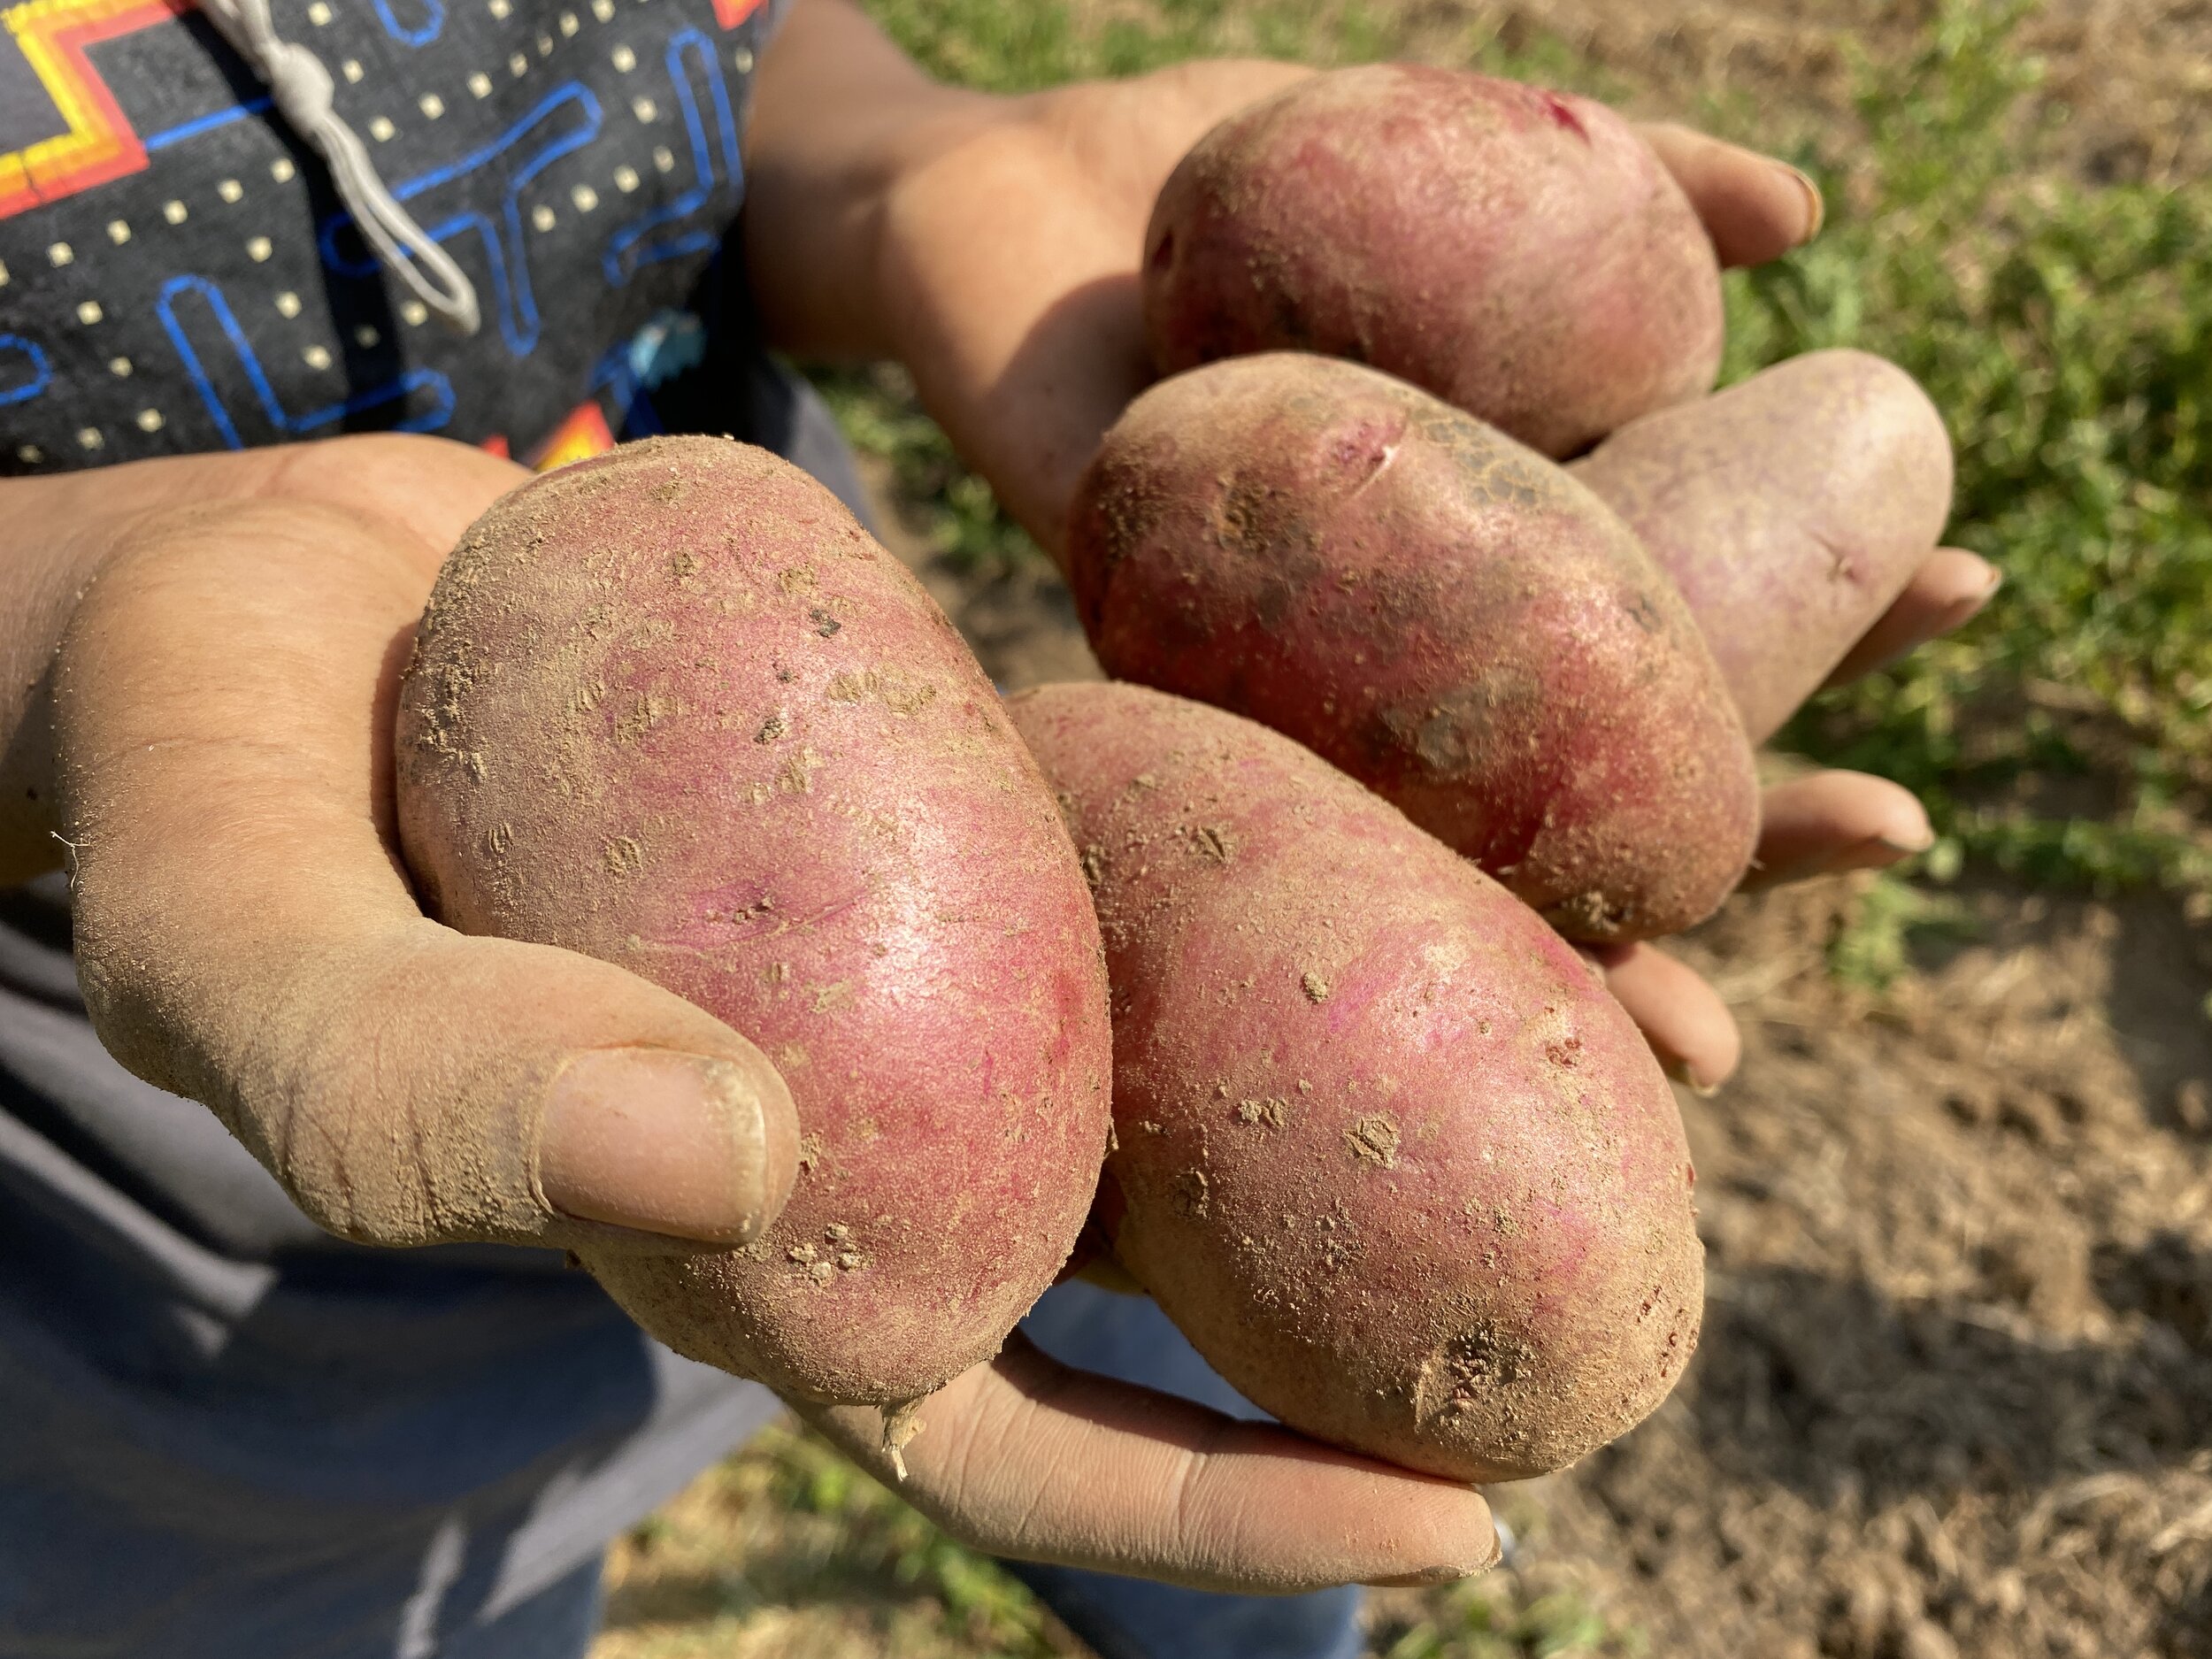
Red potatoes fresh out of the ground.
A potato plant that is still fully green and not quite ready to be dug up and harvested.
Potatoes are ready exactly when you think they are. Or they aren’t. They could care less letting you know. And if they’ve been properly hilled there’s truly no way to know whether they’re ready besides digging up a plant to look and see. Potatoes should have been in the ground and growing for at least ten weeks. It’s good if you’ve seen the plants begin and finish flowering. And even better if the tops of the plants have begun to wither and die. “New potatoes” are potatoes that are intentionally harvested when they are young, small, tender, and thin-skinned. You may alternatively prefer to leave your potatoes in the ground through the entire season, letting the plants die back entirely, until you dig them just before the first frost. A broadfork or shovel may be used to loosen soil and leverage the plant from the ground. Keeping a distance of ten or so inches from the plant will help to prevent you from accidentally stabbing or slicing your crop.
Cover image: Christine, Cheyenne, and Nick harvesting potatoes at the Biocultural Conservation Farm.


